Before starting...
Please be sure that you will be using the correct label size and label type.
MicroBiz Cloud support label sizes 2.25"x1.25" and 1.25"x1.00"
Also, please note that your printer must be a 203dpi model
Another important consideration: even when a Label seems to have the correct size it might not work so please be sure that your label type looks like the picture on the right side. This is a good example of two types of 2.25"x1.25" labels

1. Connect your Zebra ZD410 printer
Follow the steps below to connect the printer into an AC electrical outlet. The light on the power cycle rectangle turns green once power is connected.
NOTE: It's best to use direct connections instead of USB hubs and power cords.
2. Insert your Zebra ZD410 label roll
- To open the printer's lid, pull the yellow latches towards you and lift the lid upwards.
- Pull the yellow roll guides apart and insert the roll with the labels face up.
- Release the the roll guides and push them together to make sure the roll is secure and turning freely.
- Pull the labels out past the cutter at the front of the printer.
- Push the labels under the roll guides.
- Flip the labels up and align the media sensor to the center position.

- Push the lid down to snap both yellow latches shut.
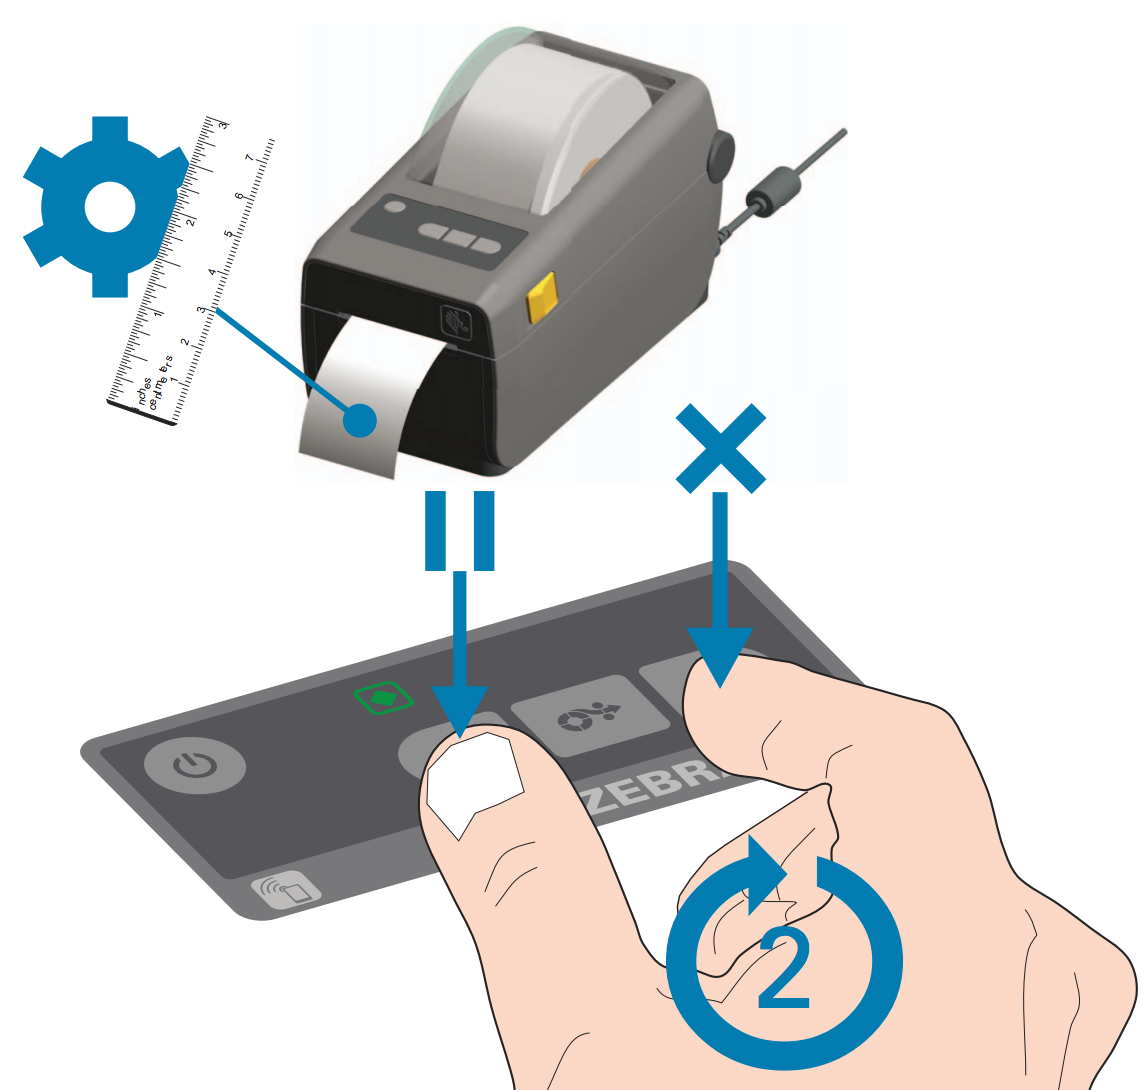
3. Calibrate your Zebra ZD410 printer
For the printer to recognize the size of your labels, perform an initial calibration:
- Follow the steps above to insert your label roll.
- Press the power button and wait for the solid green status indicator light.
- Hold the pause and cancel buttons down for 2 seconds and let go. The printer will measure and feed a few blank labels.
- Once the printer stops and the status indicator light is solid green, the calibration is complete.
NOTE: An initial calibration is necessary when the new roll is a different label size. You do not need to calibrate after inserting a new roll of the same label size. The printer will automatically adjust or you can press the feed button twice before printing.
4. Print your Configuration reports
To verify your printer is operating, print your Configuration reports:
- Follow the steps above to insert your label roll.
- Press the power button and wait for the solid green status indicator light.
- Hold the feed and cancel buttons down for 2 seconds and let go. Your Configuration reports will print.

- Press the power button to turn off your printer.
**Printing the Configuration Reports can be bypassed if you are sure labels are aligned properly and the printer is working**
5. Add the Zebra ZD410 to your computer
Windows
Your Zebra ZD410 printer will automatically install if you follow the below steps. If it does not, go to Installing your Zebra ZD410 manually on Windows before continuing.
- Follow the steps in sections 1 to 4 above.
- Connect your USB certified (version 2.0) cable from your printer to your computer's USB port.
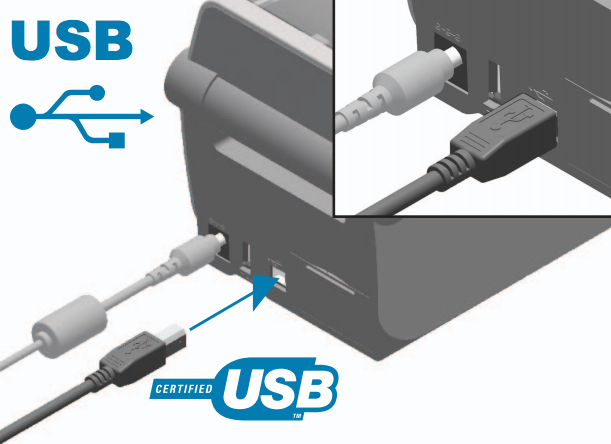
- Press the printer's power button and wait for the solid green status indicator light.
NOTE: It is normal that the network indicator light is red with a USB connection setup.
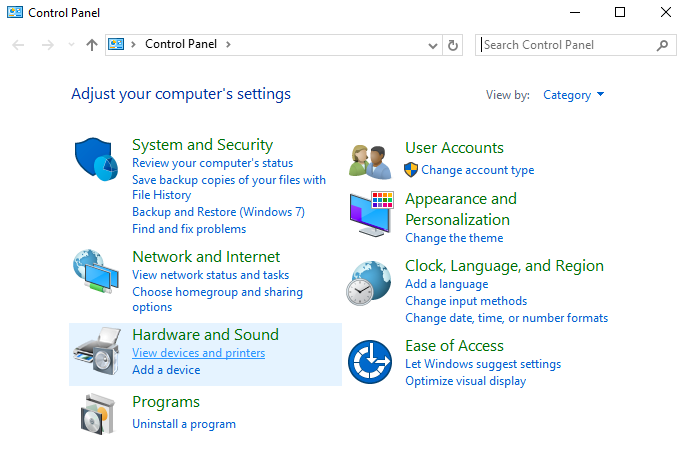
- To open your Control Panel, click the Windows Start Menu > Control Panel.

NOTE: If you are using a Windows 8 or 10 version, right click the Windows Start Menu instead of doing a left click.
- From the Hardware and Sound section, click View devices and printers.

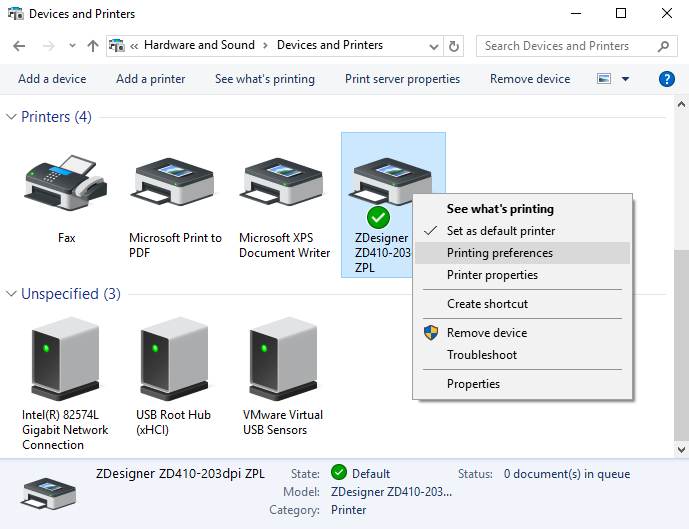
- From the Printers section, confirm that your ZDesigner ZD410-203dpi ZPL was added.
6. Format your Computer Settings
If you are using a Windows computer, you will need to format your computer settings.
- To open your Control Panel, click the Windows Start Menu > Control Panel.

NOTE: If you are using a Windows 8 or 10 version, right click the Windows Start Menu instead of doing a left click.
- From the Hardware and Sound section, click View devices and printers.
- From the Printers section, locate your ZDesigner ZD410-203dpi ZPL in the list.
- Right click your ZDesigner ZD410-203dpi ZPL.
- Click Printer preferences.
- From the OPTIONS tab, enter your label size in inches.

NOTE: The standard size label for MicroBiz is 2.25" x 1.25"
- Click OK after setting up your label size.
- Right click your ZDesigner ZD410-203dpi ZPL.
- Click Printer properties.

- From the GENERAL tab, click the Preferences...button.

- Repeat step 6 to 8.
- From the ADVANCED tab, click the Printing Defaults...button.

- Repeat step 6 to 8.
- Click OK.
- Close your Devices and Printers window.
7. Install the Zebra Browser Print app into Windows
- Download the file HERE
- Double-Click on the downloaded file from your Downloads folder to begin the installation
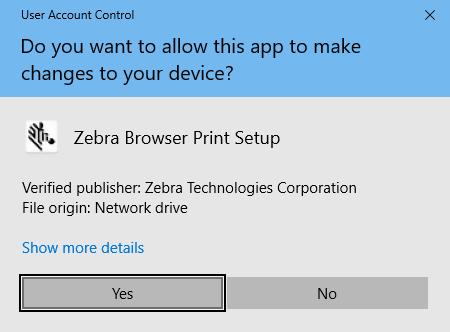
- Select YES to the message below if your User Account Control Settings are active
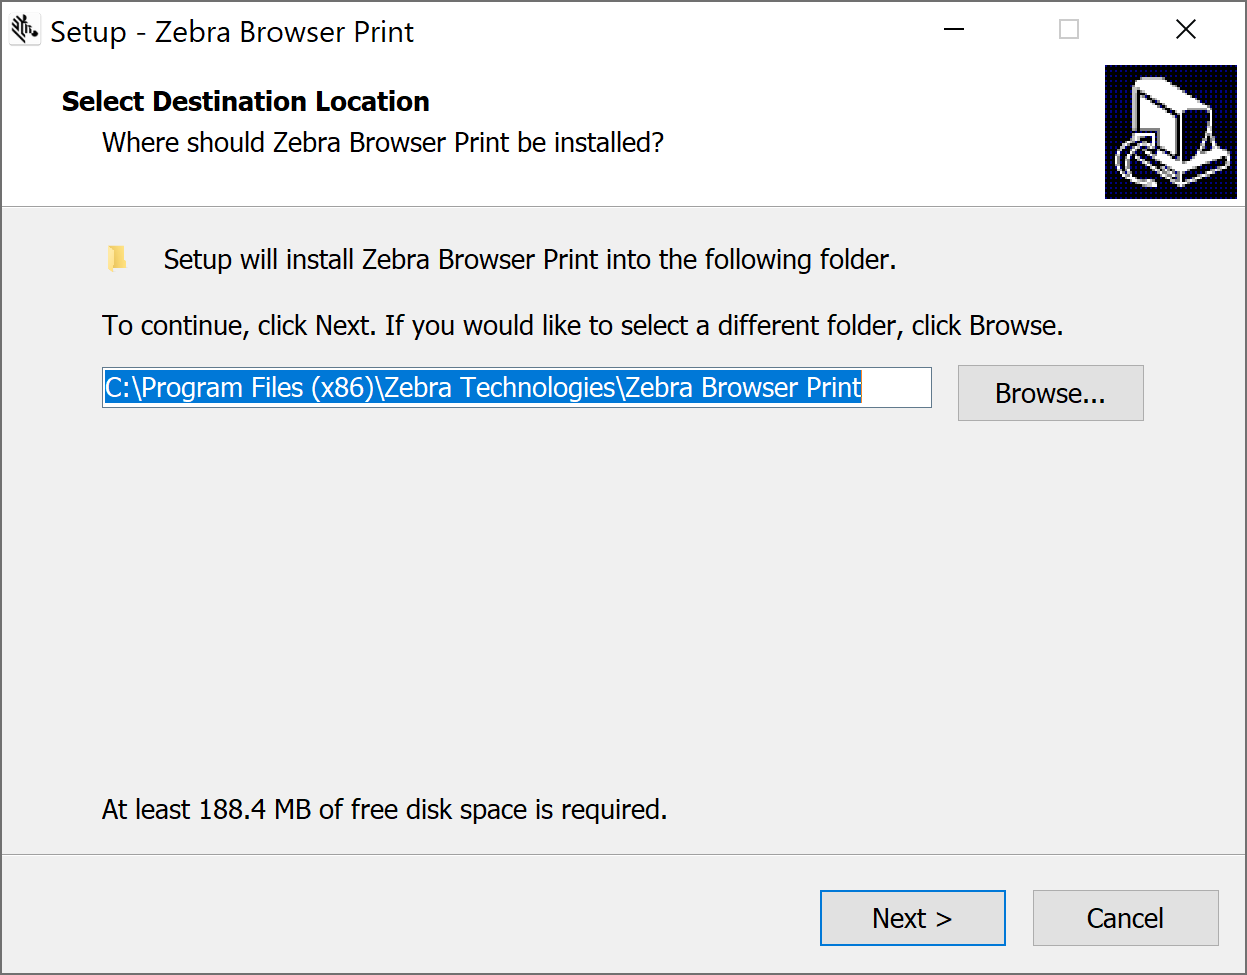
- Provide a valid path to install the Zebra Browser Print application. Then select Next
*Default will be the C:\Program Files (x86)\Zebra Technologies\Zebra Browser Print
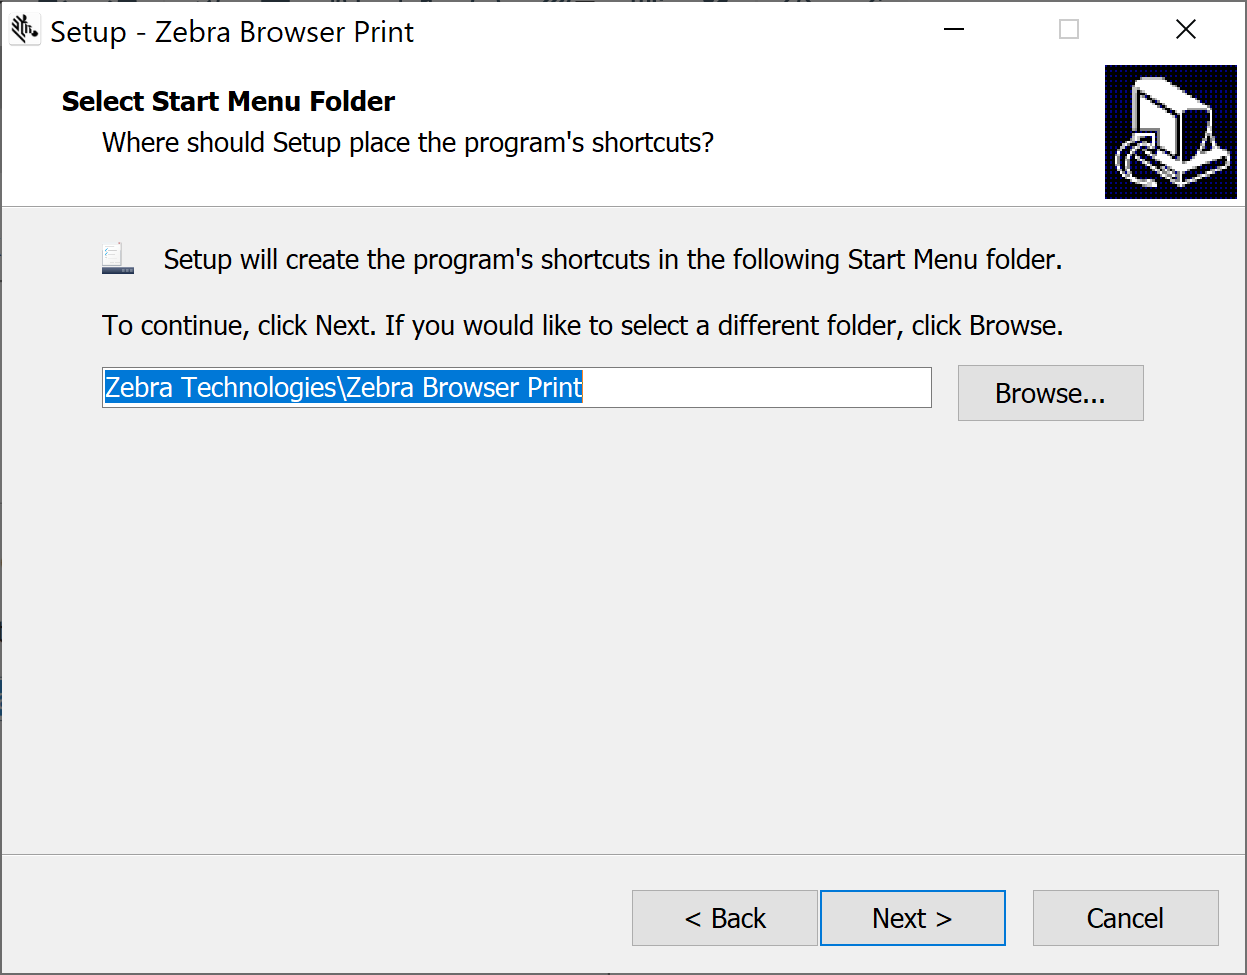
- Select Next
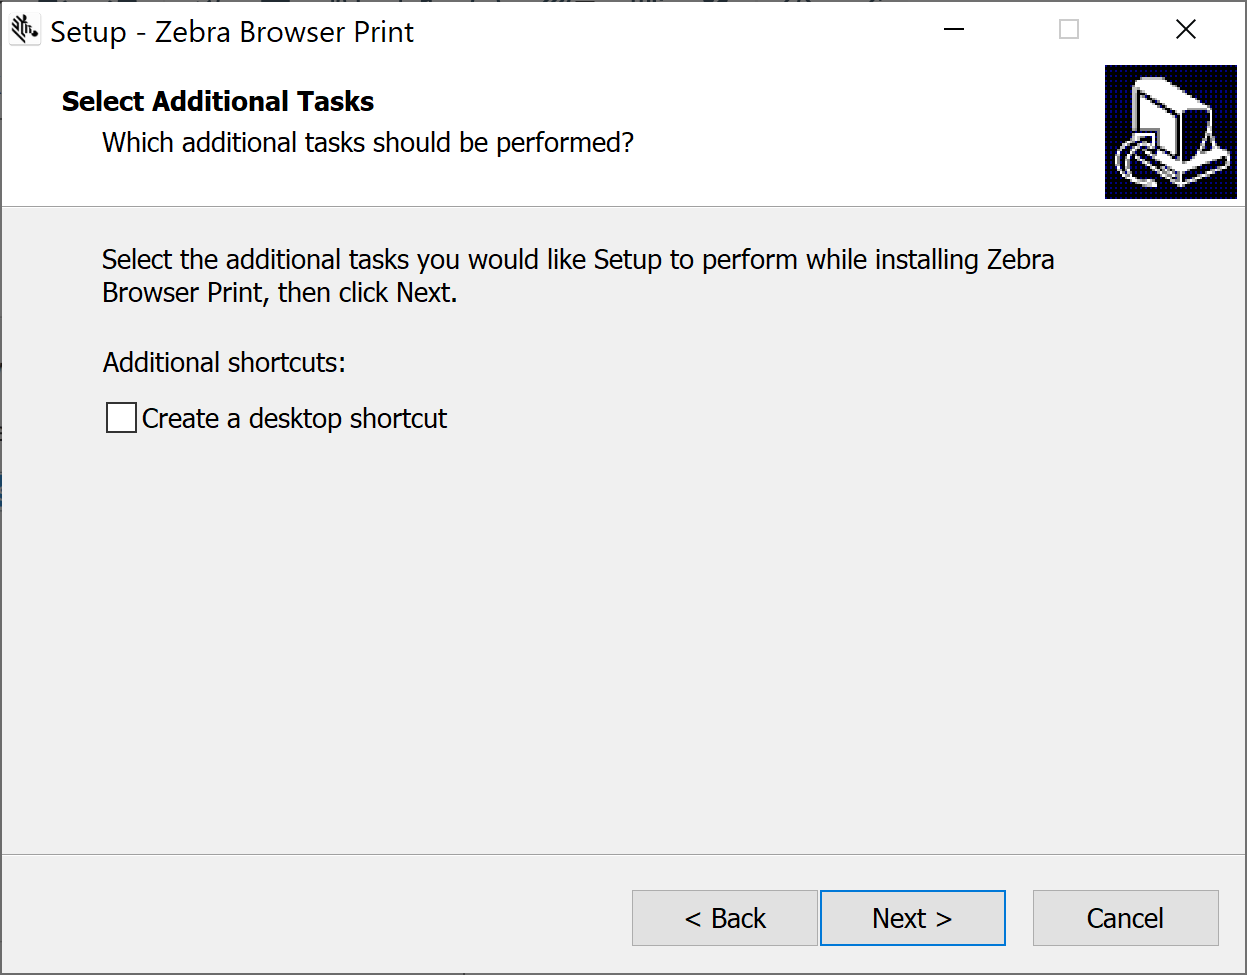
- Check the box if you want a desktop shortcut to start the program manually. Then select Next
- Review your installation settings and select Next when you are ready to install
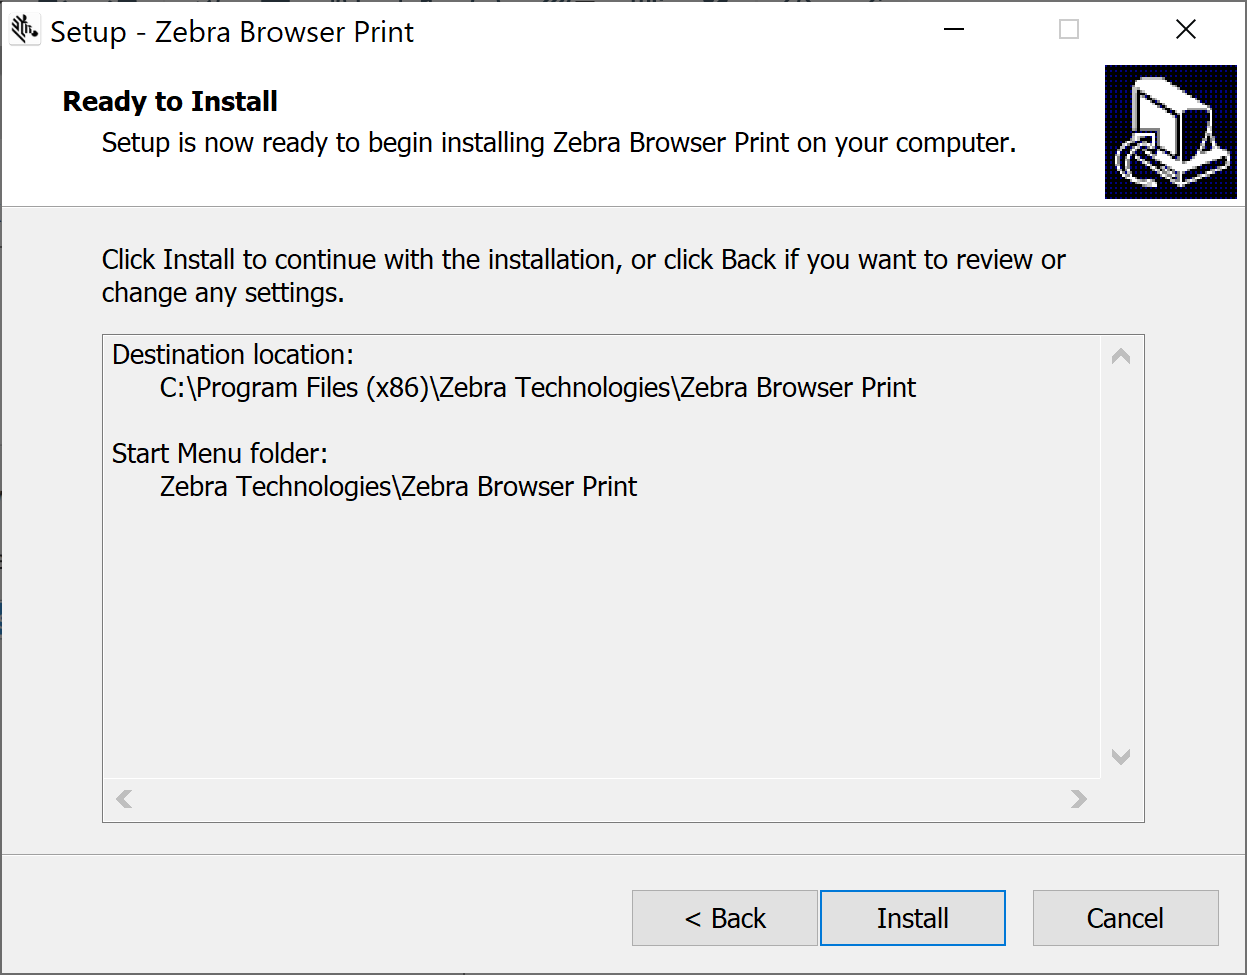
- Select Finish with the option enabled to Launch the Zebra Browser Print application

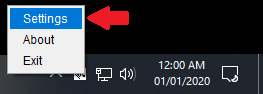
- You will see the following icon in the lower right of your taskbar after the application has successfully started

- Right-Click on this icon and select Settings
- You should see the below window open
- Click on Change to the right of the Default Devices heading

- Your printer should be located after the application has searched your system

- The valid printer should automatically be selected if you only have one Zebra printer installed into Windows

- Select Set to set this as your Zebra Label Printer for printing in your Browser
- You will now see your printer listed in the Zebra Browser Print application

- Select the Red X in the upper right of the application to close the Settings form
8. Adding MicroBiz to the Zebra Browser Print Settings
- Initial Setup
- From the Back Office menu of your MicroBiz account, click Catalog
- Then select Price Labels
- Set your format to the size of label in your Zebra Printer
I.E.: 2.25" x 1.25" Name, Price, Barcode - Select Test
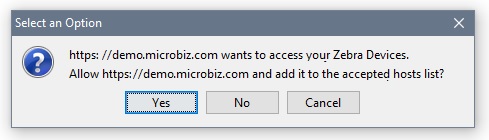
- You should receive a prompt to add your URL to the Zebra Browser Print Settings, select YES to this, then cancel the test printing in MicroBiz. The next time you attempt to print you will be able to see your printer in the drop down list.

- Your Zebra Printer should now be setup to print labels from MicroBiz. You can select the Test button again to print a test label. Be sure to use the drop down option to choose your printer.
- If you wish to print a real label instead of a test, you can do this from the product itself, or you can print labels after creating and/or receiving a vendor shipment or purchase order. Alternatively if you send your labels to print from the Price Labels Queue, you can print your labels from this section as well.
If you check your Zebra Browser Print Settings, you will now see your URL listed in this application as an Accepted Hosts

Important Note
- With last updates, the ZD410 has been replaced by the ZD421, but if you have the ZD410 model, it will still work,
Before starting...
Please be sure that you will be using the correct label size and label type.
MicroBiz Cloud support label sizes 2.25"x1.25" and 1.25"x1.00"
Also, please note that your printer must be a 203dpi model
Another important consideration: even when a Label seems to have the correct size it might not work so please be sure that your label type looks like the picture on the right side. This is a good example of two types of 2.25"x1.25" labels
1. Connect your Zebra ZD410 printer
Follow the steps below to connect the printer into an AC electrical outlet. The light on the power cycle rectangle turns green once power is connected.
NOTE: It's best to use direct connections instead of USB hubs and power cords.
2. Insert your Zebra ZD410 label roll
- To open the printer's lid, pull the yellow latches towards you and lift the lid upwards.
- Pull the yellow roll guides apart and insert the roll with the labels face up.
- Release the the roll guides and push them together to make sure the roll is secure and turning freely.
- Pull the labels out past the cutter at the front of the printer.
- Push the labels under the roll guides.
- Flip the labels up and align the media sensor to the center position.
- Push the lid down to snap both yellow latches shut.
3. Calibrate your Zebra ZD410 printer
For the printer to recognize the size of your labels, perform an initial calibration:
- Follow the steps above to insert your label roll.
- Press the power button and wait for the solid green status indicator light.
- Hold the pause and cancel buttons down for 2 seconds and let go. The printer will measure and feed a few blank labels.
- Once the printer stops and the status indicator light is solid green, the calibration is complete.
NOTE: An initial calibration is necessary when the new roll is a different label size. You do not need to calibrate after inserting a new roll of the same label size. The printer will automatically adjust or you can press the feed button twice before printing.
4. Print your Configuration reports
To verify your printer is operating, print your Configuration reports:
- Follow the steps above to insert your label roll.
- Press the power button and wait for the solid green status indicator light.
- Hold the feed and cancel buttons down for 2 seconds and let go. Your Configuration reports will print.
- Press the power button to turn off your printer.
**Printing the Configuration Reports can be bypassed if you are sure labels are aligned properly and the printer is working**
5. Add the Zebra ZD410 to your computer
Windows
Your Zebra ZD410 printer will automatically install if you follow the below steps. If it does not, go to Installing your Zebra ZD410 manually on Windows before continuing.
- Follow the steps in sections 1 to 4 above.
- Connect your USB certified (version 2.0) cable from your printer to your computer's USB port.
- Press the printer's power button and wait for the solid green status indicator light.
NOTE: It is normal that the network indicator light is red with a USB connection setup.
- To open your Control Panel, click the Windows Start Menu > Control Panel.
NOTE: If you are using a Windows 8 or 10 version, right click the Windows Start Menu instead of doing a left click.
- From the Hardware and Sound section, click View devices and printers.
- From the Printers section, confirm that your ZDesigner ZD410-203dpi ZPL was added.
6. Format your Computer Settings
If you are using a Windows computer, you will need to format your computer settings.
- To open your Control Panel, click the Windows Start Menu > Control Panel.
NOTE: If you are using a Windows 8 or 10 version, right click the Windows Start Menu instead of doing a left click.
- From the Hardware and Sound section, click View devices and printers.
- From the Printers section, locate your ZDesigner ZD410-203dpi ZPL in the list.
- Right click your ZDesigner ZD410-203dpi ZPL.
- Click Printer preferences.
- From the OPTIONS tab, enter your label size in inches.
NOTE: The standard size label for MicroBiz is 2.25" x 1.25"
- Click OK after setting up your label size.
- Right click your ZDesigner ZD410-203dpi ZPL.
- Click Printer properties.
- From the GENERAL tab, click the Preferences...button.
- Repeat step 6 to 8.
- From the ADVANCED tab, click the Printing Defaults...button.
- Repeat step 6 to 8.
- Click OK.
- Close your Devices and Printers window.
7. Install the Zebra Browser Print app into Windows
- Download the file HERE
- Double-Click on the downloaded file from your Downloads folder to begin the installation
- Select YES to the message below if your User Account Control Settings are active
- Provide a valid path to install the Zebra Browser Print application. Then select Next
*Default will be the C:\Program Files (x86)\Zebra Technologies\Zebra Browser Print - Select Next
- Check the box if you want a desktop shortcut to start the program manually. Then select Next
- Review your installation settings and select Next when you are ready to install
- Select Finish with the option enabled to Launch the Zebra Browser Print application
- You will see the following icon in the lower right of your taskbar after the application has successfully started
- Right-Click on this icon and select Settings
- You should see the below window open
- Click on Change to the right of the Default Devices heading
- Your printer should be located after the application has searched your system
- The valid printer should automatically be selected if you only have one Zebra printer installed into Windows
- Select Set to set this as your Zebra Label Printer for printing in your Browser
- You will now see your printer listed in the Zebra Browser Print application
- Select the Red X in the upper right of the application to close the Settings form
8. Adding MicroBiz to the Zebra Browser Print Settings
- Initial Setup
- From the Back Office menu of your MicroBiz account, click Catalog
- Then select Price Labels
- Set your format to the size of label in your Zebra Printer
I.E.: 2.25" x 1.25" Name, Price, Barcode - Select Test
- You should receive a prompt to add your URL to the Zebra Browser Print Settings, select YES to this, then cancel the test printing in MicroBiz. The next time you attempt to print you will be able to see your printer in the drop down list.
- Your Zebra Printer should now be setup to print labels from MicroBiz. You can select the Test button again to print a test label. Be sure to use the drop down option to choose your printer.
- If you wish to print a real label instead of a test, you can do this from the product itself, or you can print labels after creating and/or receiving a vendor shipment or purchase order. Alternatively if you send your labels to print from the Price Labels Queue, you can print your labels from this section as well.
If you check your Zebra Browser Print Settings, you will now see your URL listed in this application as an Accepted Hosts
Important Note
- With last updates, the ZD410 has been replaced by the ZD421, but if you have the ZD410 model, it will still work,